Are you tired of giving boring, plain gift cards? Look no further! This article is here to inspire you with creative personalized gift card holder crafts. We all know that a gift card is a great option when we’re unsure about someone’s taste, but let’s admit it, they can lack a personal touch. In this article, you’ll discover a variety of fun and crafty ways to make your gift cards stand out. From handmade envelopes decorated with ribbons and stickers, to unique origami designs and mini gift boxes, these ideas will not only make your gift card recipients smile with delight, but also showcase your thoughtfulness and creativity. Get ready to make gift-giving even more special with these personalized gift card holder crafts!

This image is property of images.unsplash.com.
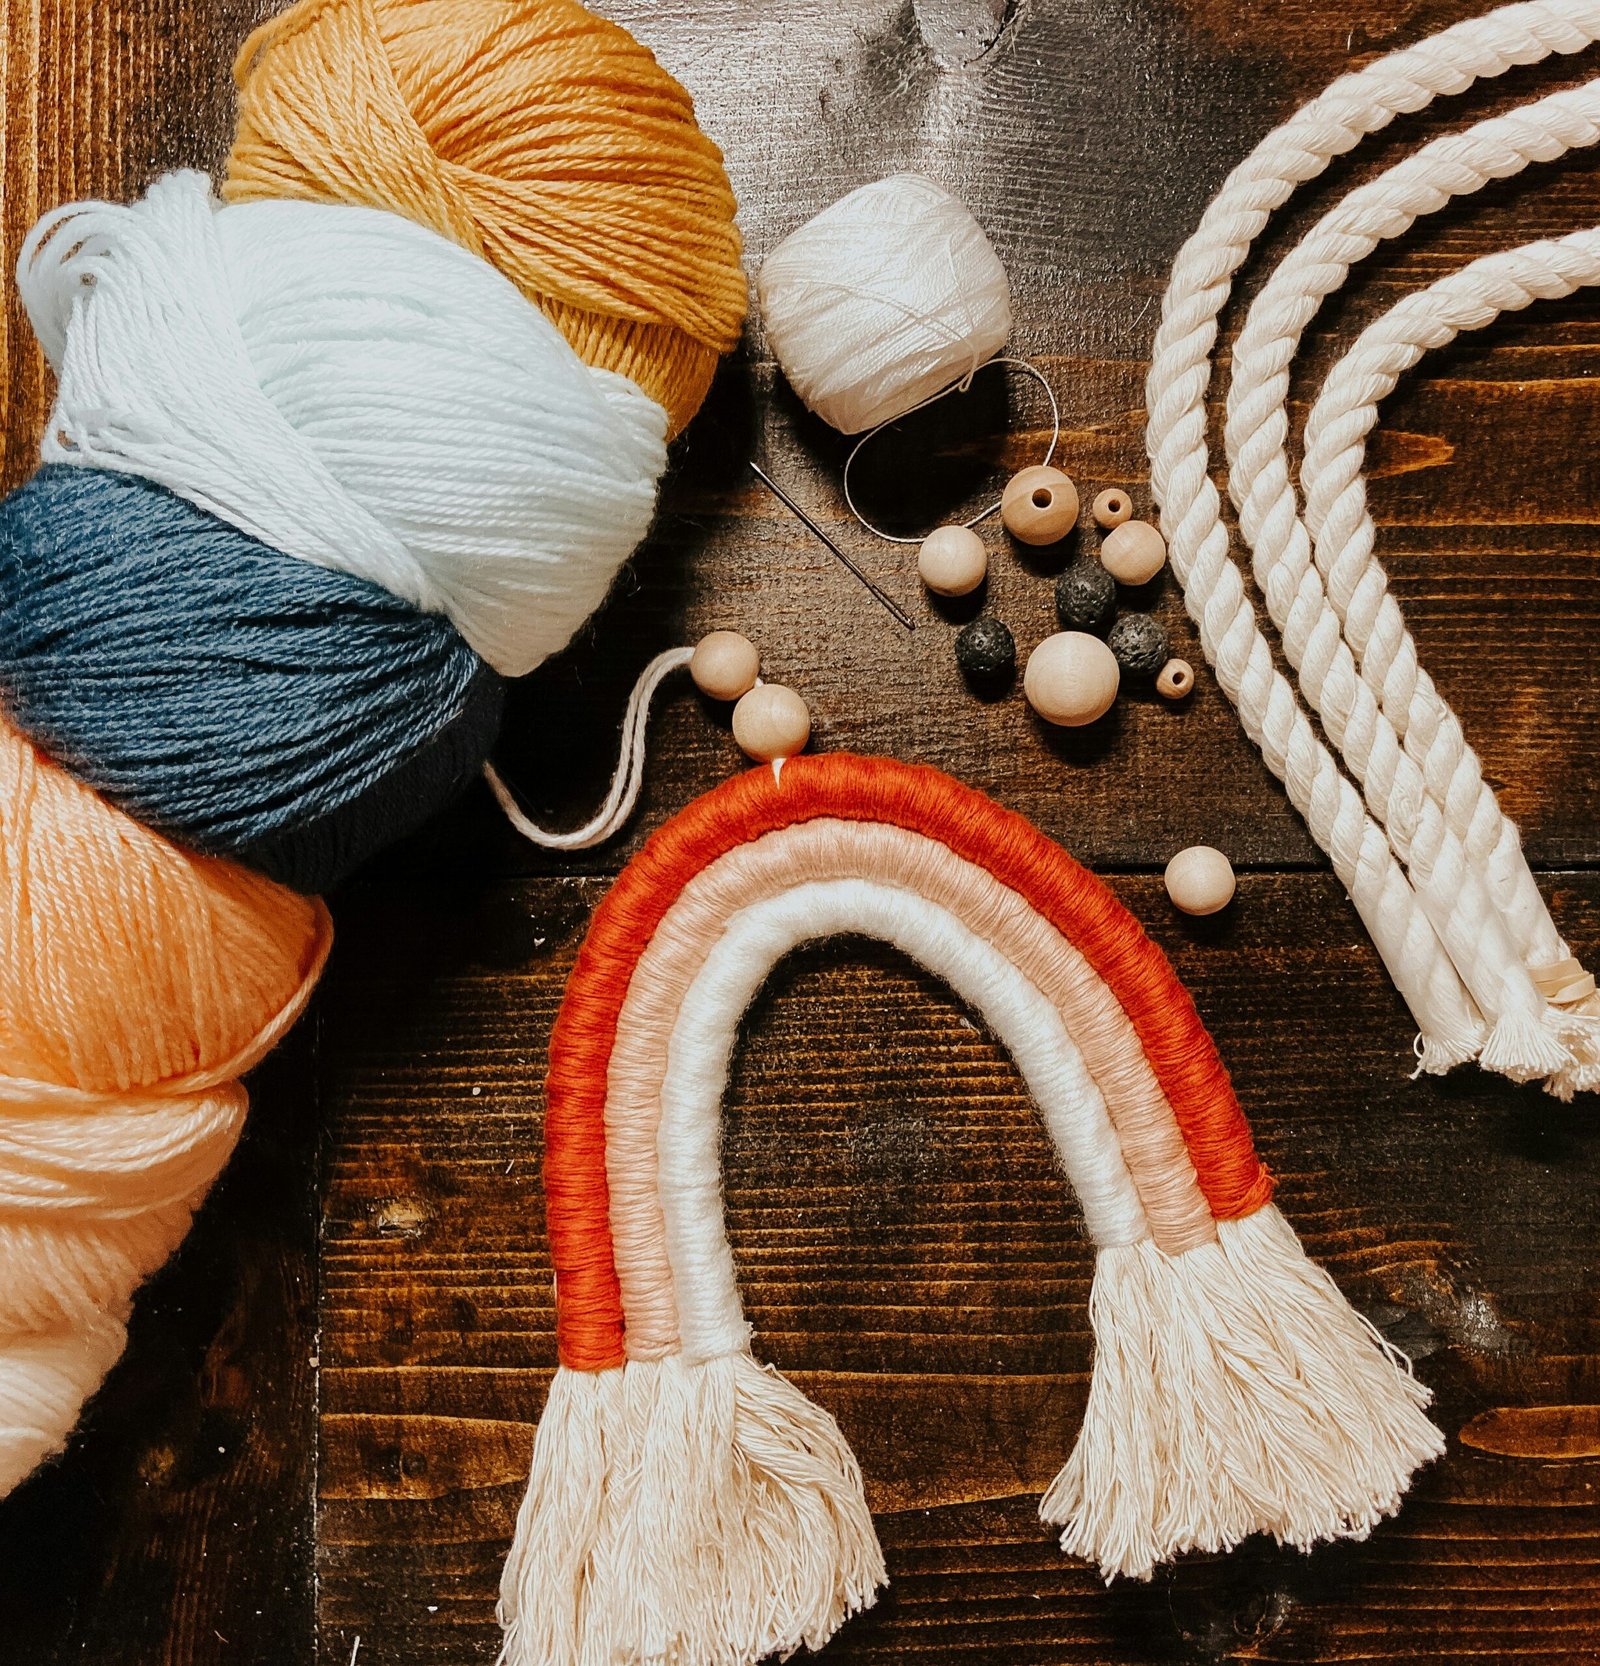
Envelope gift card holder
Materials needed
To create an envelope gift card holder, you will need the following materials:
- Colored cardstock or scrapbook paper
- Scissors or paper cutter
- Ruler
- Glue or double-sided tape
- Decorative embellishments such as stickers or ribbon
Step-by-step instructions
- Start by selecting a color or design for your envelope. You can choose a solid color or a patterned paper that complements the occasion or the recipient’s interests.
- Measure and cut a rectangle from the cardstock or scrapbook paper according to the size of your gift card. This will serve as the base of your envelope.
- Fold the sides of the rectangle towards the center, leaving a small overlap in the middle. This overlap will create the envelope’s closure.
- Apply glue or double-sided tape along the edges of the folded sides and press them firmly together to secure the envelope.
- Decorate the front of the envelope with stickers, ribbon, or any other embellishments of your choice. You can personalize it further by adding the recipient’s name or a heartfelt message.
- Slip the gift card into the envelope and secure the closure by tucking it into the overlap.
Adding personal touches
To make your envelope gift card holder even more personalized, you can:
- Use decorative scissors to create a unique edge for the envelope.
- Add a small tag with a handwritten message or a quote that holds significance to the recipient.
- Incorporate the recipient’s favorite colors or patterns into the design.
- Attach a small trinket or charm that represents something meaningful to the recipient.
These personal touches will not only make the gift card holder more visually appealing but also show that you put thought and effort into creating a unique gift presentation.
Printable gift card holder
Choosing the design template
With printable gift card holders, you have the freedom to select from a wide range of design templates. You can find them online or even create your own using graphic design software. When choosing a design template, consider the occasion or theme, as well as the recipient’s preferences.
Printing and assembling
Once you have selected a suitable design template, follow these steps to create a printable gift card holder:
- Download and print the template on a sturdy cardstock.
- Use a pair of scissors or a paper cutter to cut along the provided lines, ensuring neat edges.
- Fold the template according to the instructions provided. Most printable gift card holders are designed to be folded into a tri-fold or booklet style.
- Apply glue or double-sided tape on the designated areas and press the folds firmly together to secure the gift card holder.
- If desired, you can also embellish the front of the holder with additional decorations such as ribbon or glitter.
Customization options
To add a personal touch to your printable gift card holder, consider these customization options:
- Insert a photo of the recipient or a picture related to the occasion into a designated space on the template.
- Write a heartfelt message or a personalized note inside the holder.
- Customize the colors or patterns on the template to match the recipient’s preferences.
- Add stickers, stamps, or other decorative elements to make the gift card holder uniquely yours.
By customizing the printable gift card holder, you can create a visually appealing and thoughtful presentation for your gift card.

This image is property of images.unsplash.com.
Photo frame gift card holder
Materials needed
For a photo frame gift card holder, gather the following materials:
- Cardstock or heavy paper
- Scissors
- Craft knife (optional)
- Adhesive or glue
- Clear plastic sheet or transparency film
- Photo of the recipient or a related image
- Decorative embellishments such as stickers or markers
Preparing the photo frame
Follow these steps to create a photo frame gift card holder:
- Cut a piece of cardstock or heavy paper into a rectangle shape slightly larger than your gift card. This will form the base of your photo frame.
- Measure and cut a smaller rectangle in the center of the base, leaving a border of about 1 inch or as desired. This will create the frame for the photo.
- If you want to add additional design elements, such as cut-out shapes or patterns, now is the time to do so. Use scissors or a craft knife to carefully cut out desired shapes or patterns on the frame or surrounding areas.
- Attach a clear plastic sheet or transparency film to the back of the frame using adhesive or glue. This will protect the photo and give it a glossy finish.
- Choose a photo of the recipient or a related image that fits within the frame. Secure it behind the plastic sheet using adhesive or glue.
- Optionally, you can decorate the frame with stickers, markers, or any other embellishments that match the occasion or the recipient’s interests.
Inserting the gift card
To turn the photo frame into a gift card holder, follow these steps:
- Open the back of the photo frame by gently removing or lifting the plastic sheet.
- Slide the gift card into the center of the frame, ensuring it fits snugly.
- Carefully reattach the back of the photo frame, making sure all edges are aligned and secured.
By combining a photo frame with a gift card holder, you can create a unique and personalized gift presentation that will surely delight the recipient.
Origami gift card holder
Origami paper selection
When it comes to origami gift card holders, the choice of paper is essential. Opt for square origami paper specifically designed for origami projects. These papers come in various colors and patterns, allowing you to customize the gift card holder according to the recipient’s preferences or the occasion.
Folding techniques
Follow these simple folding techniques to create an origami gift card holder:
- Start with a square sheet of origami paper, with the colored side facing down.
- Fold the paper in half diagonally to create a triangle. Make sure to align the edges and crease firmly.
- Unfold the paper and fold it diagonally in the opposite direction, again aligning the edges and creasing firmly.
- Rotate the paper 90 degrees and fold it in half horizontally, aligning the edges and creasing firmly.
- Unfold the paper and fold the bottom edge up to the center crease, then do the same with the top edge. The paper should now be folded into a rectangle shape.
- Rotate the paper 180 degrees and fold it in half vertically, aligning the edges and creasing firmly.
- Fold the bottom edge up to the center crease, then fold the top edge down to create a small flap. This will form the pocket for the gift card.
- Open the pocket and insert the gift card, making sure it fits securely.
- Close the pocket by tucking the flap under the bottom edge of the gift card holder.
Decorative ideas
To add a personal touch to your origami gift card holder, consider these decorative ideas:
- Use origami paper in the recipient’s favorite colors or patterns.
- Add small stickers or drawings on the outside of the gift card holder to customize it further.
- Write a personalized message or the recipient’s name on the front or back of the holder using a pen or marker.
Origami gift card holders offer an elegant and unique way to present a gift card, showcasing your creativity and thoughtfulness.

This image is property of images.unsplash.com.
Mason jar gift card holder
Materials needed
For a mason jar gift card holder, you will need the following materials:
- Mason jar with a lid
- Scissors
- Craft knife (optional)
- Cardstock or heavy paper
- Decorative paper or fabric
- Ribbon or twine
- Glue or adhesive dots
- Decorative embellishments such as stickers or beads
Preparing the jar
Follow these steps to transform a mason jar into a gift card holder:
- Begin by removing the lid from the mason jar. Set it aside for later use.
- Measure the diameter of the jar’s lid and cut a circle from cardstock or heavy paper that matches this size. This will serve as the base of your gift card holder.
- Cut a strip of decorative paper or fabric that is long enough to wrap around the jar and wide enough to cover the side of the lid.
- Wrap the strip around the jar, making sure it aligns with the base of the gift card holder. Secure it in place using glue or adhesive dots.
- Attach the lid to the base by applying glue or adhesive dots to the underside of the circle and pressing it firmly onto the lid. This will create a removable top for the gift card holder.
- Embellish the jar further by adding ribbons, twine, stickers, or beads around the lid or the neck of the jar. This will give it a decorative and festive touch.
Finishing touches
To complete your mason jar gift card holder, consider adding these finishing touches:
- Attach a small tag or label with the recipient’s name or a heartfelt message to the lid or the side of the jar.
- Fill the jar with small decorative items such as colored tissue paper, confetti, or small trinkets related to the gift card or the occasion.
- Tie a ribbon or twine around the jar and attach a small charm or ornament that holds significance for the recipient.
With a mason jar gift card holder, you can create a charming and versatile presentation that can be used as a decorative piece even after the gift card is removed.
Fabric gift card holder
Choosing the fabric
When selecting fabric for a gift card holder, opt for a sturdy material such as cotton, linen, or felt. Consider the recipient’s preferences and the occasion when choosing the color or pattern. You can choose a fabric that complements their style or reflects the theme of the gift card.
Sewing the holder
Follow these steps to sew a fabric gift card holder:
- Cut two identical rectangles from your chosen fabric, each measuring about twice the width of your gift card and a little longer than its height.
- Place the rectangles on top of each other, with the right sides facing inwards. Pin them together to prevent shifting during sewing.
- Sew along three edges of the rectangles, leaving one of the shorter sides open for turning inside out.
- Trim the excess fabric from the corners to reduce bulkiness once turned.
- Turn the holder inside out, gently pushing out the corners to achieve crisp edges.
- Fold the open edge inwards and press it with an iron to create a clean finish.
- Sew along the folded edge to close the gift card holder.
- If desired, you can add additional decorative elements such as buttons, ribbons, or appliques to embellish the holder.
Embellishment options
To add a personal touch to your fabric gift card holder, consider these embellishment options:
- Embroider the recipient’s name, a special message, or a design on the front or back of the holder.
- Attach small charms or beads to the holder using a sewing needle and thread.
- Add a fabric tag with a handwritten note or a quote that holds significance to the recipient.
By sewing a fabric gift card holder, you can create a unique and reusable way to present a gift card, showcasing your sewing skills and thoughtfulness.
Wooden gift card holder
Selecting the wood
When choosing wood for a gift card holder, opt for a thin and lightweight option that is easy to work with, such as plywood or balsa wood. You can find these types of wood at your local craft store. Consider the recipient’s preferences or the occasion when selecting the wood. For a more rustic look, you can even repurpose a small wooden box.
Cutting and sanding
Follow these steps to cut and sand the wooden gift card holder:
- Measure and mark the dimensions of your gift card or use a template to ensure the correct size.
- Use a saw or a craft knife to cut out the shape of the gift card holder from the selected wood. Take your time and follow the marked lines carefully to achieve precise edges.
- Once the shape is cut out, use sandpaper or a sanding block to smooth the edges and any rough surfaces. Sand in the direction of the wood grain for best results.
- Wipe away any dust or debris from the wood using a clean cloth.
Painting or staining
To enhance the appearance of your wooden gift card holder, consider painting or staining it:
- If you prefer a painted finish, choose a color that matches the recipient’s style or the occasion. Apply thin, even coats of paint, allowing each coat to dry before applying the next. This will ensure a smooth and even finish.
- If you prefer a stained finish, select a stain color that complements the wood grain. Apply the stain using a paintbrush or a clean cloth, following the manufacturer’s instructions. Allow the stain to penetrate the wood for the recommended amount of time before wiping away any excess.
- Once the paint or stain is dry, you can further embellish the wooden gift card holder by adding decorative elements such as decals, glitter, or small drawings.
With a wooden gift card holder, you can create a durable and long-lasting presentation that adds a touch of natural beauty to your gift.
Box gift card holder
Choosing the box
When selecting a box for a gift card holder, choose one that is small and sturdy. A jewelry box or a small gift box with a hinged lid is an excellent option. Ensure that the box is deep enough to accommodate the gift card without being too spacious.
Decorating the box
Follow these steps to decorate a box gift card holder:
- Start by selecting decorative paper or fabric that complements the occasion or the recipient’s preferences.
- Measure and cut the paper or fabric to fit the exterior of the box, allowing for a slight overlap.
- Apply glue or double-sided tape to the back of the paper or fabric and carefully press it onto the box, smoothing out any wrinkles or bubbles.
- If desired, you can also line the interior of the box with a contrasting or coordinating paper or fabric. Cut the paper or fabric to fit the inside of the box and attach it using the same method as before.
- To secure the gift card inside the box, create a small pocket by attaching paper or fabric to one side of the interior using glue or double-sided tape. Ensure that the pocket is sized appropriately to comfortably hold the gift card.
- Add additional decorative elements such as ribbon, bows, or stickers to the exterior of the box to make it visually appealing and personalized.
Securing the gift card
To ensure the gift card stays in place inside the box, consider these methods for securing it:
- Attach the gift card to a small piece of cardstock or paper using adhesive dots or glue. This will keep it firmly in place.
- Tie a ribbon or string around the gift card and attach it to the interior of the box using adhesive dots. This will prevent the gift card from slipping out.
By decorating a box to hold the gift card, you can create a beautiful and reusable presentation that the recipient will surely appreciate.
Upcycled material gift card holder
Selecting the upcycled material
When choosing an upcycled material for a gift card holder, consider items that can be repurposed and give your gift a unique touch. Some ideas include:
- Empty mint or candy tins
- Altoid tins
- CD cases
- Cereal boxes
- Playing cards
- Bottle caps
- Scraps of fabric or leather
Get creative and think outside the box when selecting your upcycled material. Look for items that are the right size and shape to accommodate a gift card.
Crafting the holder
Follow these steps to create an upcycled material gift card holder:
- Prepare your chosen upcycled material by cleaning and removing any labels or stickers.
- Measure and mark the dimensions needed to accommodate the gift card.
- Use scissors, a craft knife, or other appropriate tools to cut out the necessary sections of the upcycled material. Take your time and follow the marked lines carefully for precise cuts.
- Once the necessary sections are cut out, test the fit by placing the gift card into the holder. Make any necessary adjustments to ensure a snug and secure fit.
- If desired, you can further customize the upcycled material gift card holder by adding additional pockets, compartments, or closures. Get creative and take advantage of the unique features of the upcycled material.
- Enhance the appearance of the gift card holder by adding decorative elements such as paint, stickers, fabric, or ribbon. This will give it a personalized touch and make it visually appealing.
Personalization ideas
To make your upcycled material gift card holder even more personalized, consider these ideas:
- Paint or decorate the upcycled material to match the recipient’s style or the occasion.
- Use leftover scraps of fabric or leather to create embellishments such as bows, patches, or tags.
- Write a personalized message or the recipient’s name on the gift card holder using a pen or marker.
- Add small trinkets or charms related to the recipient’s interests or the occasion.
By repurposing materials and giving them a new life, you can create a unique and eco-friendly gift card holder that showcases your creativity and resourcefulness.
Interactive gift card holder
Materials needed
To create an interactive gift card holder, gather the following materials:
- Cardstock or heavy paper
- Scissors or craft knife
- Ruler
- Glue or adhesive dots
- Decorative paper or fabric
- Ribbons or other fasteners
- Decorative elements such as stickers or markers
Designing the interactive element
Follow these steps to design an interactive gift card holder:
- Start by sketching or planning the interactive element you want to create. This could be a pop-up element, a pull-tab, or any other mechanism that adds an element of surprise or engagement.
- Once you have your design in mind, take a piece of cardstock or heavy paper and cut it to the desired size for the gift card holder base.
- Follow the appropriate techniques, such as folding or cutting, to create the interactive element according to your design. Take your time and use a ruler if necessary to ensure precision and accuracy.
- Attach the interactive element to the base using glue or adhesive dots. Make sure it is securely attached and can move or function as intended.
- Decorate the gift card holder base and the interactive element with decorative paper or fabric of your choice. You can also add stickers, markers, or other embellishments to make it visually appealing.
Assembling the holder
To assemble the interactive gift card holder, follow these steps:
- Attach the gift card to the interactive element using adhesive dots or glue. Ensure that the gift card is securely attached and won’t fall off when the interactive element is moved.
- Attach ribbons or other fasteners to the edges of the interactive element and the gift card holder base. This will allow you to open and close the holder while keeping the gift card in place.
- Optionally, you can further personalize the gift card holder by adding decorative elements such as stickers, drawings, or small trinkets.
By creating an interactive gift card holder, you can add an element of surprise and engagement to your gift, making it a memorable and fun experience for the recipient.
With these personalized gift card holder crafts, you can elevate the presentation of your gift cards and show the recipient how much thought and effort you put into their gift. Whether you choose to create an envelope holder, a printable holder, a photo frame holder, an origami holder, a mason jar holder, a fabric holder, a wooden holder, a box holder, an upcycled material holder, or an interactive holder, each option provides a unique and creative way to showcase your gift card. Follow the step-by-step instructions provided for each craft, and don’t forget to add your personal touches to make the gift card holder truly special. With these crafts, you can present your gift card in a way that is not only visually appealing but also reflects your thoughtfulness and care.